
Despite the adjective of cold, the process of creating cold porcelain flowers has little to do with low temperatures or any lack of caring. I let myself get completely lost in my work, using nature and actual flowers as inspiration for my creations. From the first moment of taking my new orders until the final paint stroke of completion, I allow the flowers to become my full center of attention. I can’t keep my eyes off of them even after I finish, and this is how I know that I have created something truly worthy of all my effort.
Regarding my creation process – my first step is always, of course, selecting a flower, and then doing all of the necessary research. The flower selection could be subject to any specific wishes of my client, or it could be just one of my own creations. I then research and explore the flowers in their natural environments, paying close attention to every detail. I look at many of the infinite variations of the flower, the subtle color changes in each petal, and how everything is arranged. I typically either go to a local florist, or just head up to the mountains to pick a fresh one. Working with a natural model allows me to explore each flower thoroughly, and get a deeper understanding of the actual size, structure, and all of the minute intricacies. The colors in each flower variety are far more complex than you might realize, and each individual one has tiny color variations, which could always be altered in photographs. The stamen, usually the center part and its thin filament, will usually be the most detailed part of the flower, so I take my time closely inspecting that part – usually I’ll start from the center and work outwards, until the very last petal. I really enjoy the research part of the process because it allows me to really appreciate all of the beautiful and complex detail in just one of nature’s many creations.
Once I have properly identified the flower, I will then start working with the clay. The type that I usually work with is either Thai or Japanese, because these particular versions do not require the same heat treatments as with other clays. This allows my flowers to simply air dry when I finish sculpting them, without the use of a kiln. It is also important to note that cold-porcelain is very different from gum paste. Gum paste is another common material used to make replica flowers, but in my opinion, it doesn’t allow for the same delicate appearance that cold-porcelain provides. Flowers made with gum paste will be a less precise version, and the main reason for this is that cold-porcelain dries very differently than gum paste, and keeps a ceramic-type hold. I also love this kind of clay because it can be rolled into very thin sheets, allowing it to capture the slight translucency of real flower petals.
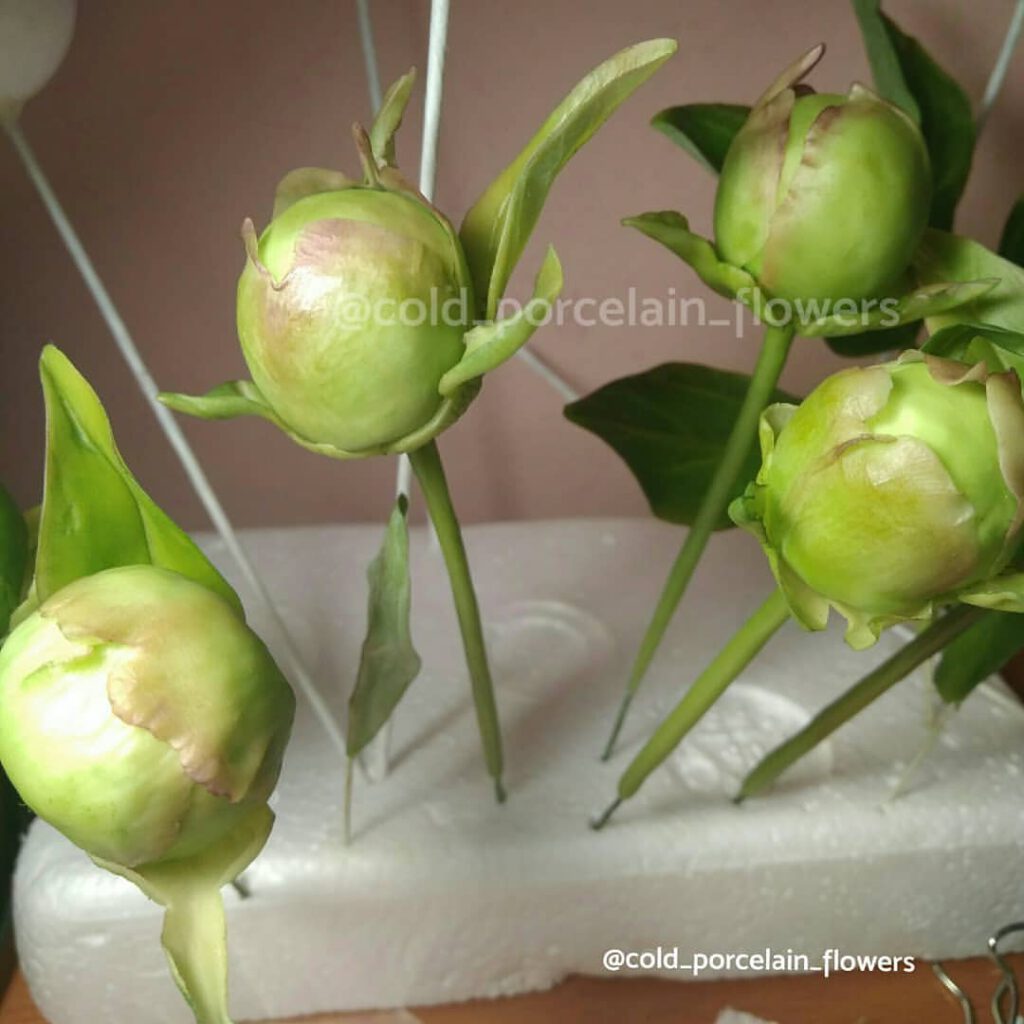
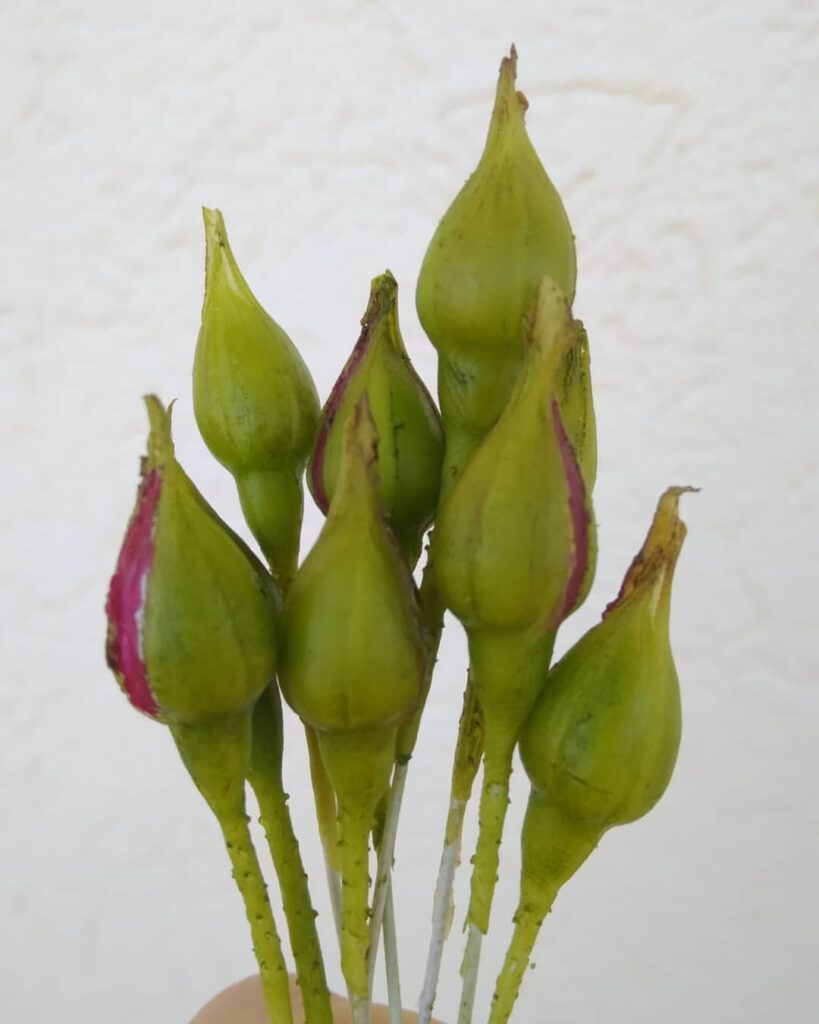
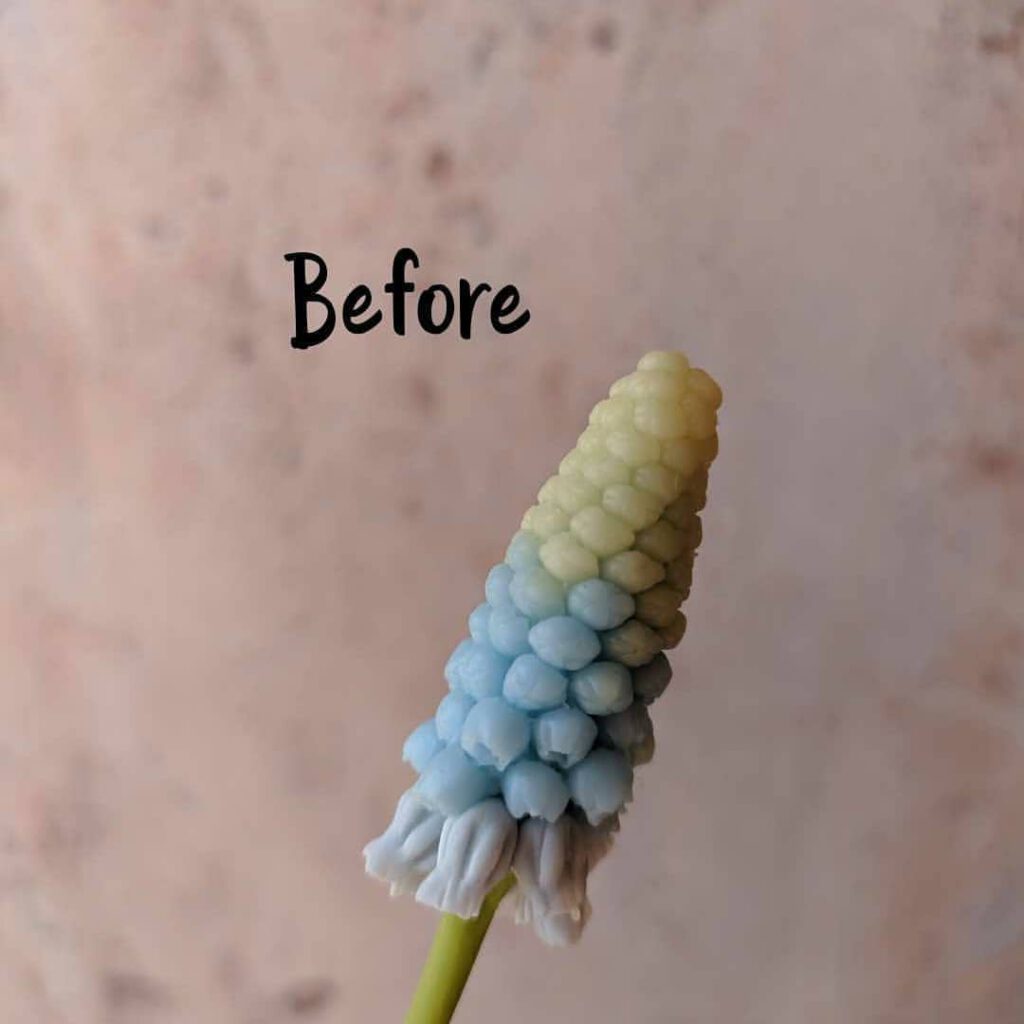
I then color the clay with oil paints, choosing colors based on the standard appearance of the flower. Even for a white flower, I still have to add the right colors to ensure that I achieve my intended result. Otherwise, the flower will be too translucent and it won’t have a realistic appearance. When I initially shaped the flower, I began by creating the stamen at the center. This part is a little tricky, as each pollen-laden stamen can be quite small and intricate, but they are also one of the major reasons why clients are convinced that these creations are the real thing. I try to portray every minute detail. I then work outwards from the center to the petals, and finally, finish the stems and all other parts of the plant.
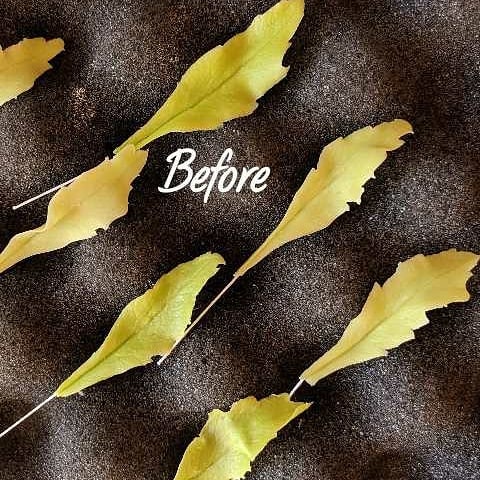
Each leaf, howsoever large or small, is just as unique as everything else, so I take the time to make sure that I have given them all of the correct color, shape, and texture. Depending on the type of plant, I might also add a wireframe to the stem and leaves to add support and replicate the spine, stalk, and veins of the leaves.
After I finish creating each piece, the cold porcelain needs to dry for a day. During this time, I will probably start on one, or several, more piece(s), allowing for time and the other projects that I have going on at the moment. For a bouquet, I will need to make several flowers, so I have to use my time wisely. The drying process, depending on the thickness of each piece, will take at least 24 hours. So I will always check on it after 24 hours, to see if they are actually done, or how the drying process is going. The clay will always shrink up to 20% as they dry and I have to take this into account from the beginning when I am creating the pieces.
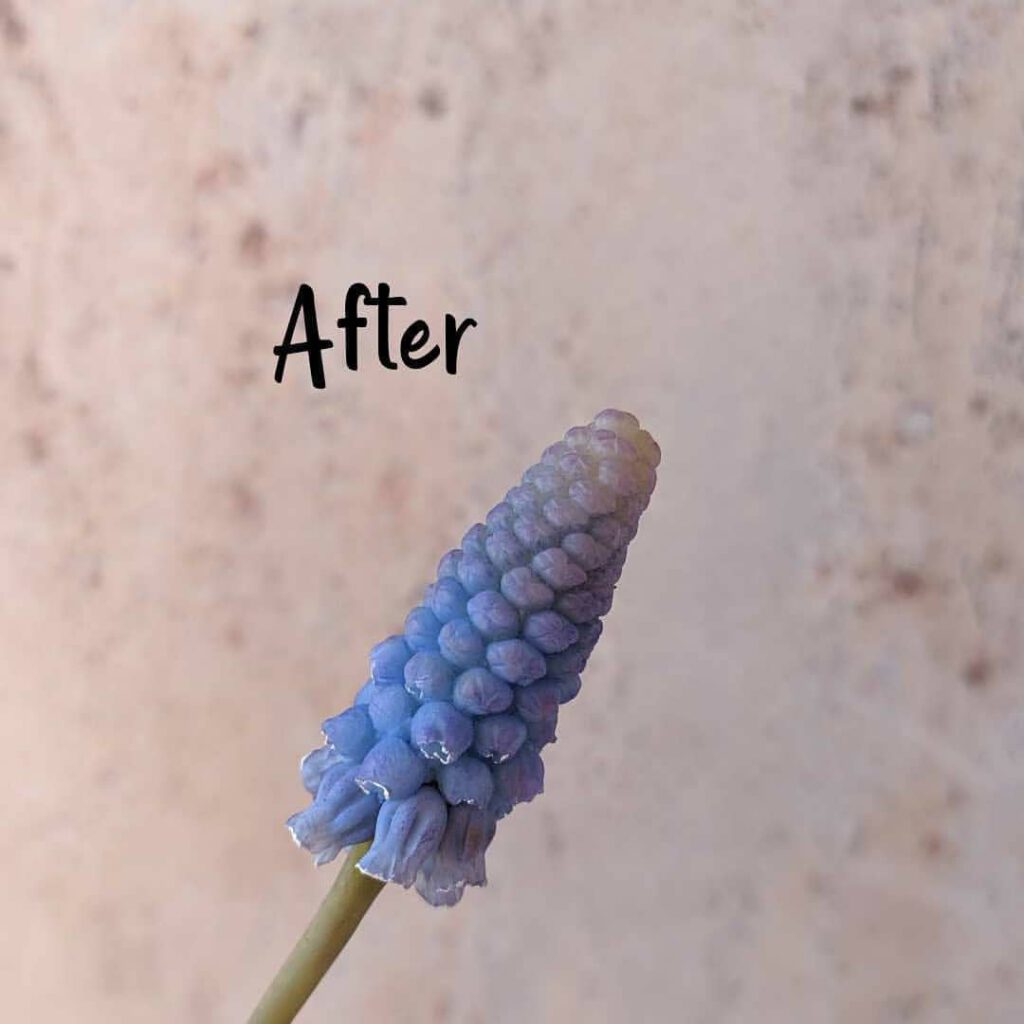
Once the flower has completely dried and hardened, I inspect all of the components to make sure everything is exactly right, and then I arrange everything with care. The final step is to paint the flowers and add all of the details and subtle color changes of the flower, and give it a few more realistic touches.
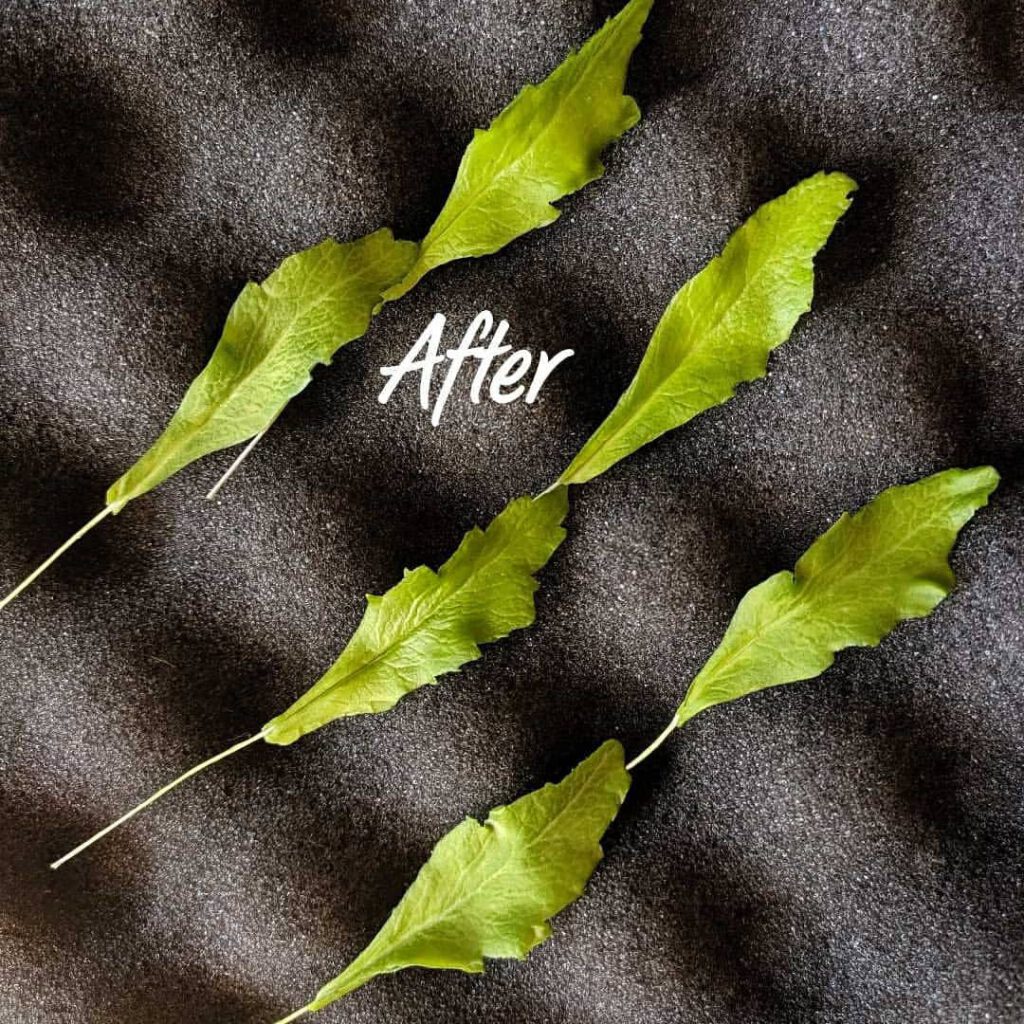
Throughout the entire process, I constantly refer back to the natural flower as a model for my creations. But when I am finally painting the flower, this is where I really put my powers of observation to the test. All of the tiny imperfections in the flower and the subtle color shifts are truly spectacular and give each piece a truly realistic look. Rotating the flower while lighting it from every angle allows me to make sure I have appreciated and portrayed the flower just as nature designed it. When I am finished painting, I let my piece dry once again, and inspect them one last time and make any final touches. Once I am completely satisfied by my creation, I either arrange the flowers into a customized bouquet, or place them into hand-selected pots. The latter is intended to showcase them as if they are actually growing in the pot, as you would with a natural house plant. Dandelions and crocus flowers are popular choices for this type of display.
To summarize, here is the list of my creation process of cold-porcelain flowers:
- Selecting a flower
- Working with the clay
- Coloring the clay
- Drying Process
- Inspection and Arrangement
- And finally, Painting and Final Touch-up
I am always able to sit back and admire each of my creations once the individual piece or set of pieces is completed. I am always able to gather as much enjoyment in my finished project as I do in the actual creation process of my pieces. As these pieces are a part of myself, and represent my true appreciation of nature and its beauty, I hope my clients enjoy them as much as I do.
Subscribe to my instagram to se my works.